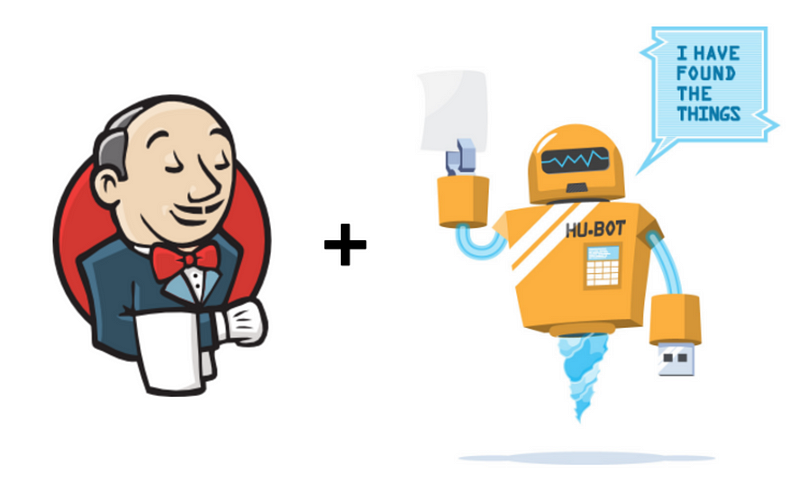
How to integrate Hubot with Jenkins and Slack? (ChatOps)?
-
 Eric Wei
- 4 Min To Read
- 12 Jan, 2022
Hubot is an open-source chatbot framework that can allow you to parse the message to interact with messengers like Line, Facebook, or Slack.
Facebook / Line / Slack ← → Adapter ← → Hubot ← → Script
Basically, you can find different kinds of adapters to connect to messengers. What you need to do is create Scripts in CoffeeScript.
One common usage is you can type a single command in Slack to trigger a pipeline running on Jenkins via Hubot. This can make your CI/CD flow become more convenient.
For instance, whenever your coworkers or QAs want to test games, they can easily type a command to build games for Android or iOS and get the game’s download link via Slack Message.
This can greatly improve work efficiency and ensure the game’s stability.
Hubot, however, is too tricky to set up for Jenkins. You might encounter different kinds of problems while getting it to work.

This article aims to help you smoothly integrate Hubot with Jenkins.
Get Started
Environment :
- MacBook Pro
- node v17.3.0
- npm 8.3.0
We expect you have installed Jenkins on your PC. If not, run
brew install jenkins-lts
If you don’t have node or npm installed, run
brew install node
brew install npm
Also, you should have set up a pipeline on Jenkins.
Then let’s start to set up Hubot to trigger jobs on Jenkins.
Step 1: Installing coffeescript, redis, and hubot generator
brew install coffeescript redis


brew services start redis


npm install -g generator-hubot yo
Check Hubot version
npm -v generator-hubot
8.3.0
We will install Hubot version as 8.3.0. If you use an older version, the situation may be different.
Step 2: Create Hubot folder and Initialize Hubot
mkdir hubot
cd hubot


yo hubot --adapter=slack --name="<Your Name>" --description="Hubot" --owner="your-name<your-email[@](mailto:s-wei@dxg.jp)xxx.xx>"
Step 3: Start and Check Hubot
# Start
./bin/hubot

# Check
Hubot> hubot echo "hi"
Hubot> "hi"
Step 4: Create Jenkins.coffee
Download jenkins.coffee and copy it to folder ./scripts/
Step 5: Remove hubot-heroku-keepalive
// Uninstall hubot-heroku-keepalive
npm uninstall hubot-heroku-keepalive --save


// Remove it from external-scripts.json
vim external-scripts.json
[


"hubot-diagnostics",


"hubot-help",


"hubot-heroku-keepalive", // Delete this


"hubot-google-images",


"hubot-google-translate",


"hubot-pugme",


"hubot-maps",


"hubot-redis-brain",


"hubot-rules",


"hubot-shipit"


]
If you don’t delete it, you will get the following problem.
Problem:
ERROR hubot-heroku-keepalive included, but missing
HUBOT_HEROKU_KEEPALIVE_URL. heroku config:set HUBOT_HEROKU_KEEPALIVE_URL=$(heroku apps:info -s | grep web.url | cut -d= -f2)
Step 6: Add ”jenkins.coffee” to hubot-scripts.json
vim hubot-scripts.json
[

 "jenkins.coffee"  // Add this

]
Step 7: Create and Run startHubot.sh
vim startHubot.sh
#!/bin/bash

# Hubot Port
export EXPRESS_PORT=8081


export HUBOT_LOG_LEVEL=debug


export HUBOT_SLACK_RTM_CLIENT_OPTS='{"useRtmConnect": "true"}'


# Slack Token
export HUBOT_SLACK_TOKEN=<Slack Token>


# Jenkins IP and Port
export HUBOT_JENKINS_URL="[http://<Jenkins IP>:](http://127.0.0.1:8080)<Jenkins Port>"


# Jenkins API Token
export HUBOT_JENKINS_TOKEN="token=my_token"


# HUBOT_JENKINS_AUTH:user_name:api_token


# ex:
# HUBOT_JENKINS_AUTH=ericwei:11bffe9567cc72680bfae768d3c3f01234


export HUBOT_JENKINS_AUTH=<user_name>:<API Token>

./bin/hubot --adapter slack
Run below to start Hubot
sh startHubot.sh
You can get Slack Token when integrating Hubot into Slack You can find the user name and API Token (hash value) on Jenkins for HUBOT_JENKINS_AUTH
Remember if your Hubot expose port is as same as Jenkins, you will get an error. So setup EXPRESS_PORT in a different port You should set up HUBOT_SLACK_RTM_CLIENT_OPTS at the startHubot.sh
Otherwise, you will get the following problem
Problem: error: Response not OK: method_deprecated info: Unable to rtm.start, attempting reconnect
Then let’s test it on Slack by typing the following command.
// Command format:
@<your hubot> jenkins build <jobe name>, key1=value1&key2=value2


// Example:
[@test-slack-bot](https://test-s-wei.slack.com/team/U02SP1XRY12) jenkins build sample-game-build-android, branch=test&user_name=ericwei
You should add hubot to the same channel beforehand, so you can type this command to trigger jobs.
How to add Hubot to Slack Channel?
Goto your Channel → Integration → Add App → Select Hubot to add
Pay attention to there is a space in between job name and key1. Because it’s required to make it work.
Lastly, you should be able to see your pipeline is running and finished as below.

Congratulations!

Once you see your pipeline is working as described above, you can begin to add more CI/CD pipelines to make high-quality games on time and within budget.
I hope this tutorial can be helpful for you.
If you found this article helpful, please follow us on Facebook to get the latest tutorials in the future.
Thank you for reading!