
How to integrate Azure Function and SQLite?
-
 Eric Wei
- 4 Min To Read
- 16 Sep, 2021
A tutorial for beginners to detail how to set up SQLite and implement API with Azure Function in just a few minutes.
Integrating SQLite and Azure seems to be easy but it’s hard to find a working example to get this done.
Especially, it’s tricky to set up the database’s path properly and you need to try and error for finding the best solutions.
This tutorial aims to help you smoothly integrate SQLite with Azure Function.
Let’s get started.
Environment:
- Microsoft Visual Studio 2022
- Microsoft Azure Cloud
- You should have a developer account on Azure Cloud
Note
- You can install Visual Studio 2019 as well but only the UI is different.
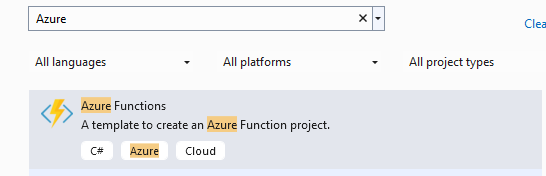
Step1: Create Azure Function
Open Visual Studio 2022 → Select and create Azure functions
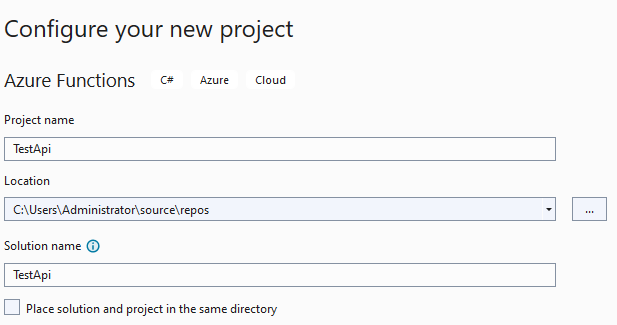
Setup Project Name and solution Name
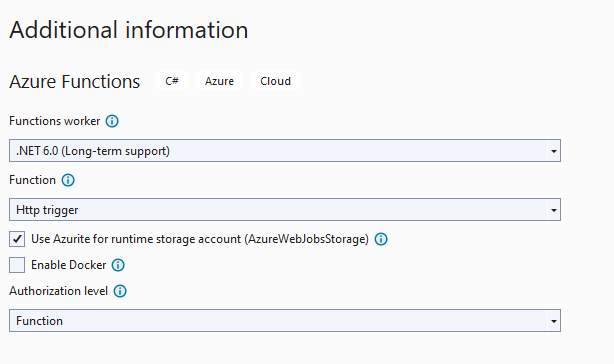
Select HTTP trigger in Function
This will create an HTTP Sample function
Step2: Install Packages
Then we need to install two dependent libs below.
- Azure ToolKit is used to deploy web applications to Azure in Visual Studio 2022.
- sqlite-net-pcl is used to query SQLite on Azure Function.
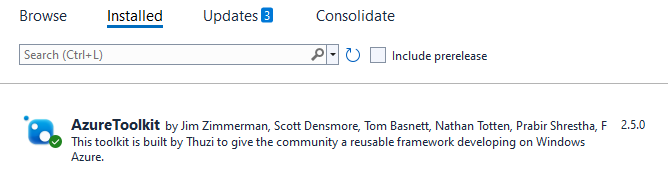
2.1 Install Azure ToolKit
- Goto Visual Studio 2022 → Tools → Nuget Package Manager → Manage Nuget Packages for solution
- Find and install Azure ToolKit
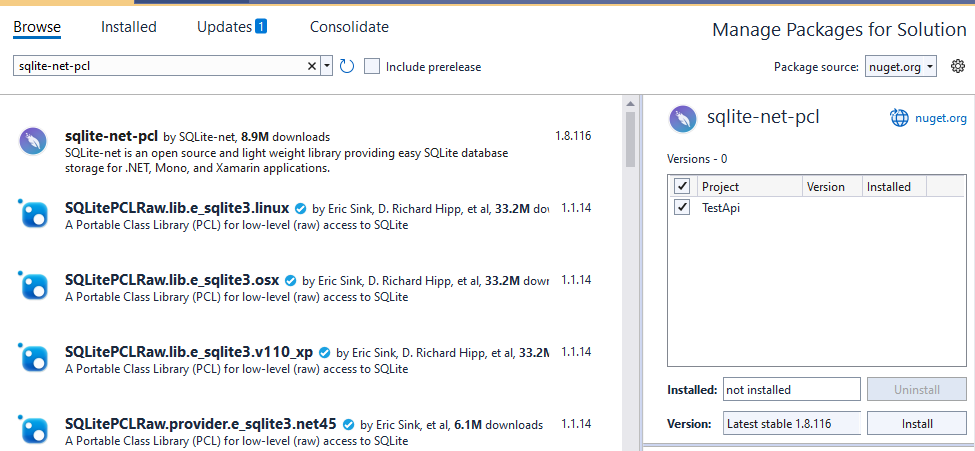
2.2 Install SQLite Lib
Find and install sqlite-net-pcl
Step3: Import and Setup SQLite
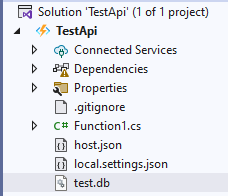
You and drag and drug your SQLite database into your root project
For example, we will import test.db below. (test.db is just an example)
Then select test.db and set up its properties
- Select Copy Always in Copy to Output Directory
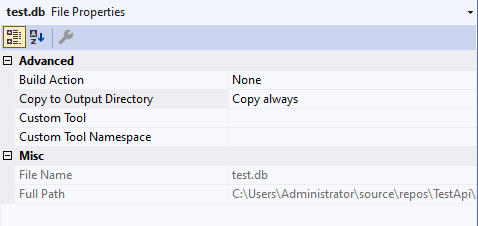
Note:
- To set up Copy Always on SQLite is very important otherwise you cannot deploy the database to Azure Cloud.
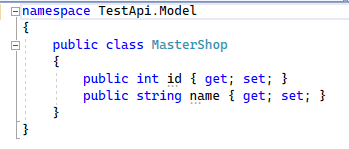
Step4: Create Data Mode Class
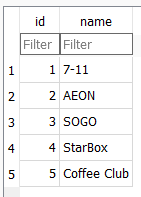
Since our data only have two columns, we can create DataModel class below to retrieve data and convert it to a class.
Step5: Create an API
5.1 Parse Request Data from JSON to Class
Create an API below to parse and convert the request data from JSON to ShopRequest class.
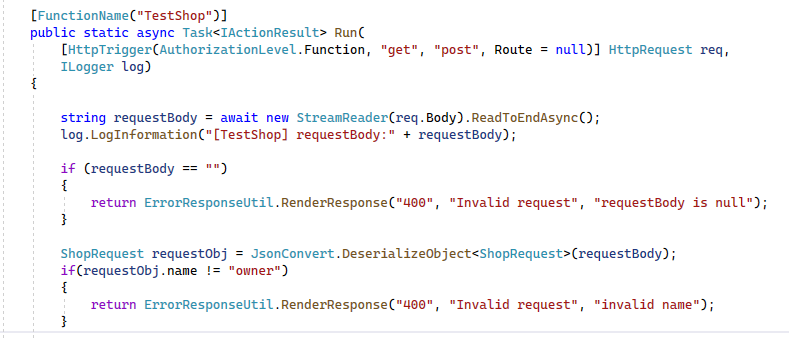
We can define ShopRequest class for request data.
public class ShopRequest
{
   public string name;
}
Then use JsonConvert.DeserializeObject to convert data from JSON to ShopRequest class.
ShopRequest requestObj = JsonConvert.DeserializeObject<ShopRequest>(requestBody);
5.2 Check and Copy Database
We need to implement a function to check if the database does not exist on Azure, then copy the database from the root path to Azure Path with reading and writing permission.
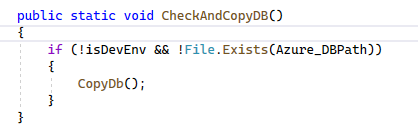
Why you need to copy?
Because if you don’t, you will get an error: database is locked.
Solution:
Copy your database to D:/home/
with writing and reading permissions.
ref: https://github.com/projectkudu/kudu/wiki/Azure-Web-App-sandbox
5.3 Get SQLite ConnectionString, Setup Connection and Query
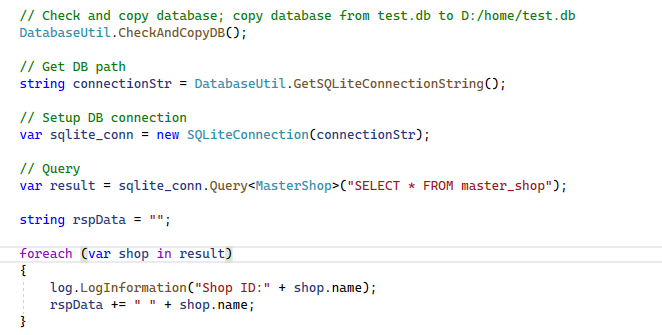
- GetSQLiteConnectionString will setup the DB connection string based on the database path on Azure or local
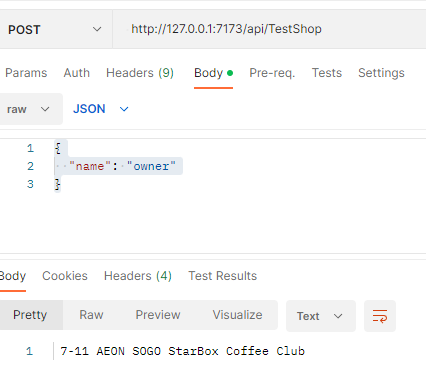
Step6: Test
Start your function locally by Visual Studio and set up postman to send traffic.
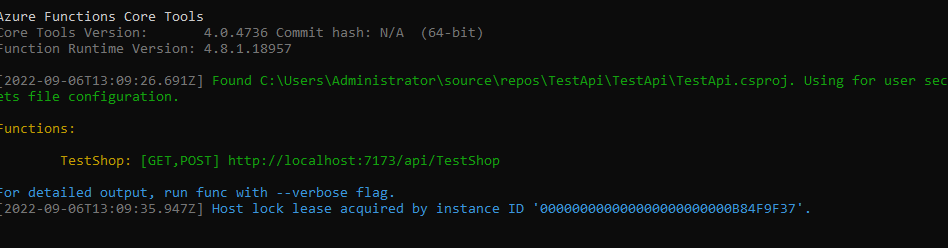
You will be able to see the following
Step7: Publish Function to Azure and Test
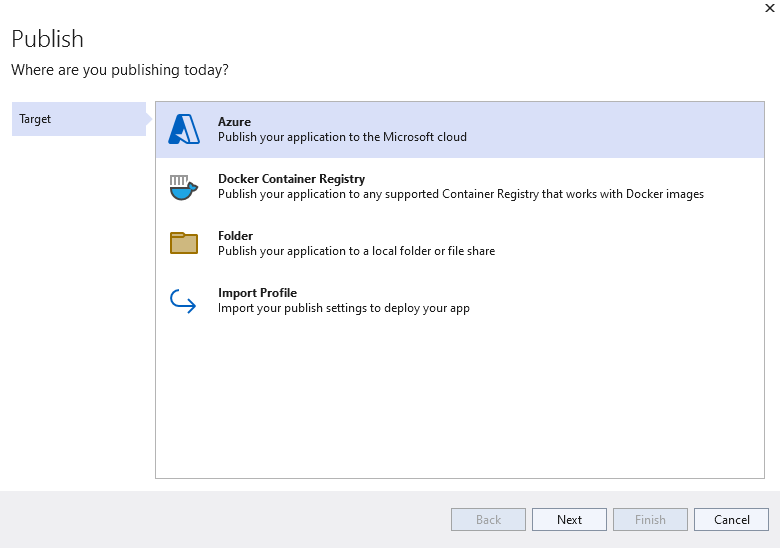
7.1 Publish Function
Open Visual Studio 2022 → Build→ Click Public Selection → Select Azure
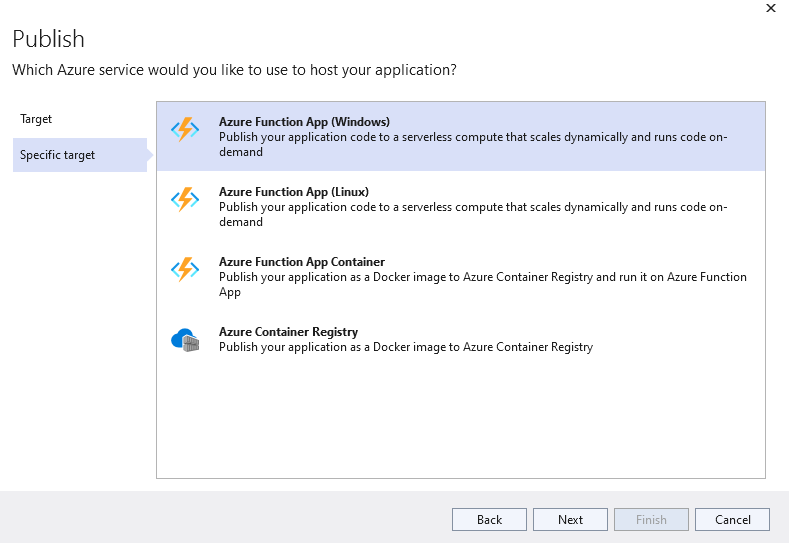
Select Azure Function App (Windows)
Change Name
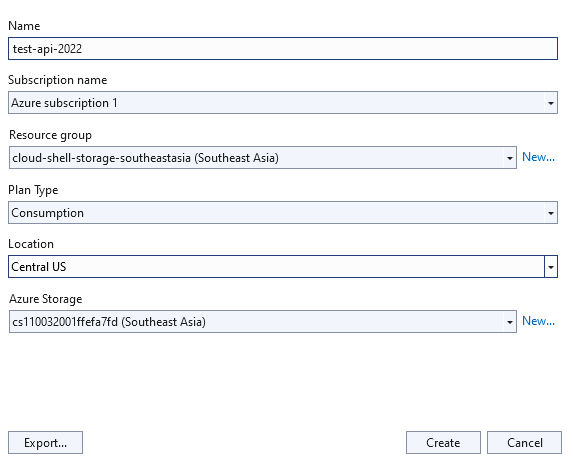
Then select created function
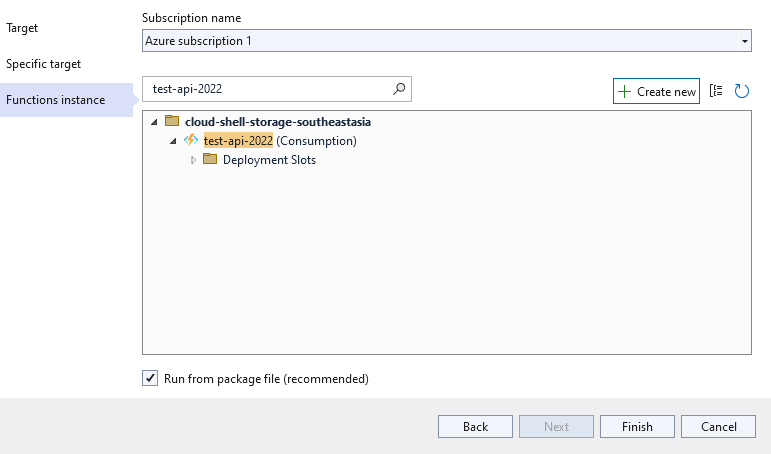
Once the function is created, then click Publish Button to deploy

Next, we need to know the deployed API endpoint.
- Log in to https://portal.azure.com with your developer account and password.
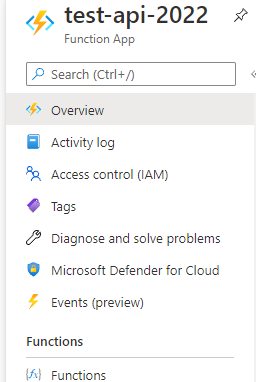
- Goto Function App → Select your function → Click Functions
Click Get Function Url to get the API URL of your Azure Function
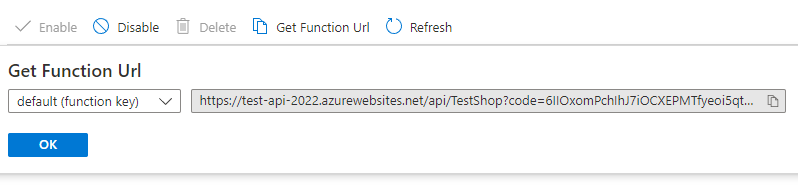
Finally, paste your API URL to the postman and you can send traffic to test
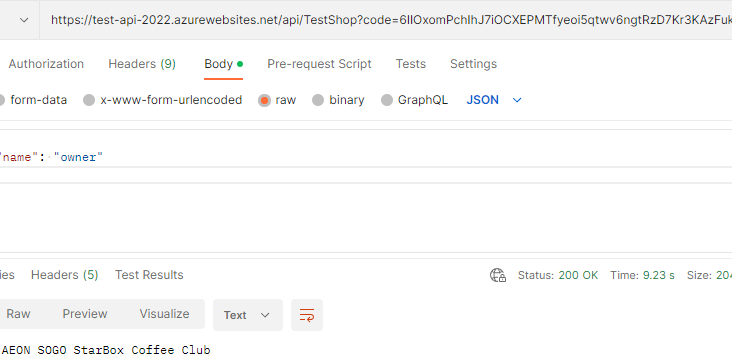
Congratulations!

You have learned how to
- Create HTTP Trigger in Azure function
- Setup and connect SQLite on Azure
- Parse and convert request data from JSON to a class
- Deploy functions to Azure Cloud and Test
This tutorial not only can save you time to develop APIs on Azure, but also you can make use of a lightweight database (SQLite) to save costs.
You can download the sample project here in this tutorial.